1. 概述
本文将通过一个持续交付(Continuous Delivery)的示例来展示 Jenkins 中 Pipeline 的使用。
我们会构建一个简单但非常实用的流水线流程,包括以下几个阶段:
- 编译
- 静态分析(与编译并行执行)
- 单元测试
- 集成测试(与单元测试并行执行)
- 部署
这些步骤将帮助我们理解 Jenkins 2 中 Pipeline 的强大之处。
2. Jenkins 安装配置
首先,我们需要从 Jenkins 官网 下载最新稳定版本(本文写作时为 2.73.3)。
进入下载目录后,使用如下命令启动 Jenkins:
java -jar jenkins.war
⚠️ 注意:Jenkins 启动后需要先完成管理员用户的初始化设置。
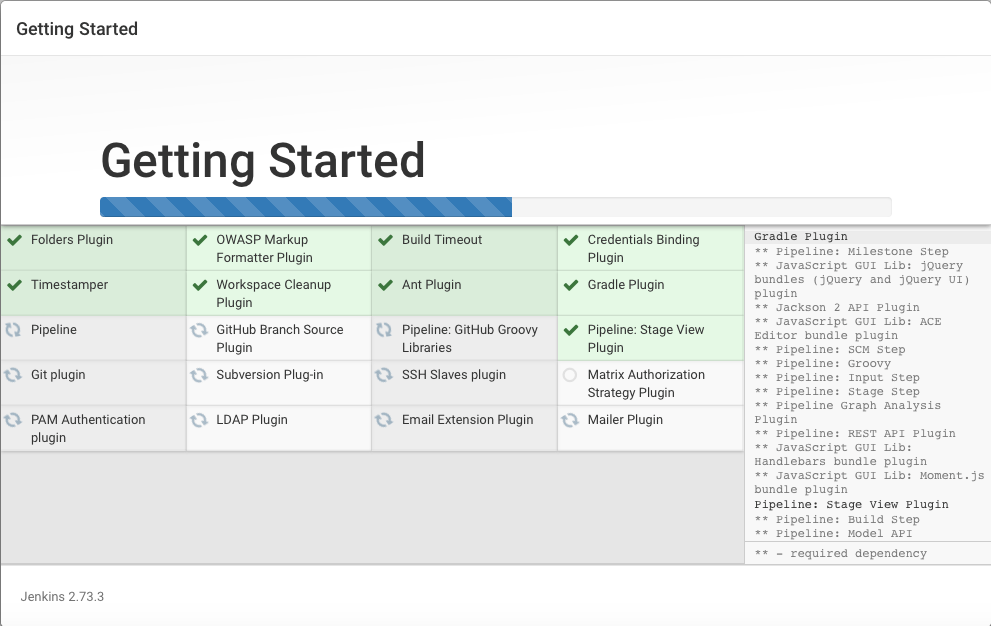
使用系统生成的初始密码解锁 Jenkins,然后填写管理员用户信息,并安装推荐插件。
此时 Jenkins 已安装完成,准备就绪。
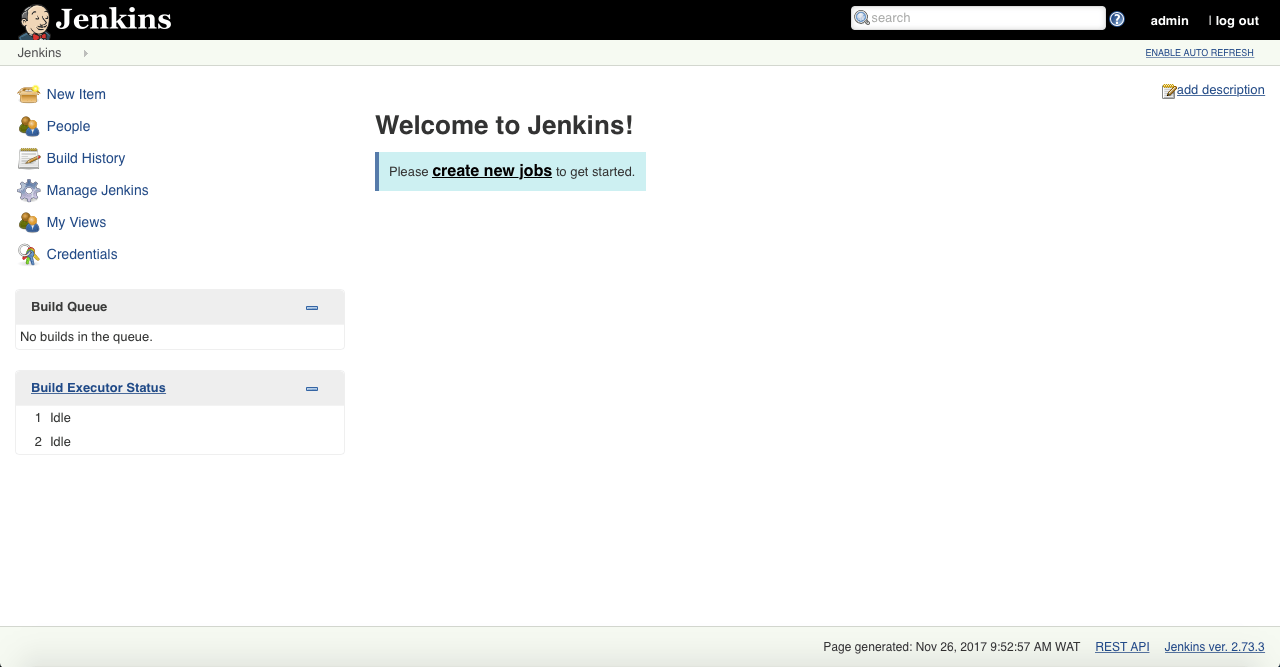
所有 Jenkins 版本可在 这里 找到。
3. Pipeline 简介
Jenkins 2 引入了 Pipeline(流水线)这一重要特性,它非常适合用于定义项目的持续集成/持续交付(CI/CD)流程。
Pipeline 的本质是用代码定义 Jenkins 构建步骤,从而实现软件自动化构建、测试和部署。
它基于一种领域特定语言(DSL),支持两种语法风格:
- 声明式 Pipeline(Declarative)
- 脚本式 Pipeline(Scripted)
在本文中,我们将使用 Scripted Pipeline,它基于 Groovy,采用命令式编程风格。
✅ 要使用 Pipeline,首先需要安装 Pipeline 插件。
✅ 可选安装 Pipeline Stage View 插件,这样可以在构建运行时看到各个阶段的可视化视图。
4. 示例项目
我们以一个简单的 Spring Boot 应用为例,演示如何构建一个完整的流水线。
该流水线将包括如下流程:
- 克隆代码
- 构建项目
- 执行多种测试
- 启动应用
我们还需要安装以下插件来支持分析和测试报告:
- Checkstyle:用于静态代码检查
- Static Analysis Collector:聚合分析结果并生成趋势图
- JUnit:用于解析单元测试报告
此外,我们还需要在 pom.xml 中添加如下插件配置:
<plugin>
    <groupId>org.apache.maven.plugins</groupId>
    <artifactId>maven-checkstyle-plugin</artifactId>
    <version>2.17</version>
</plugin>
5. 创建 Pipeline 脚本
首先,在 Jenkins 中新建一个任务,选择 Pipeline 类型:
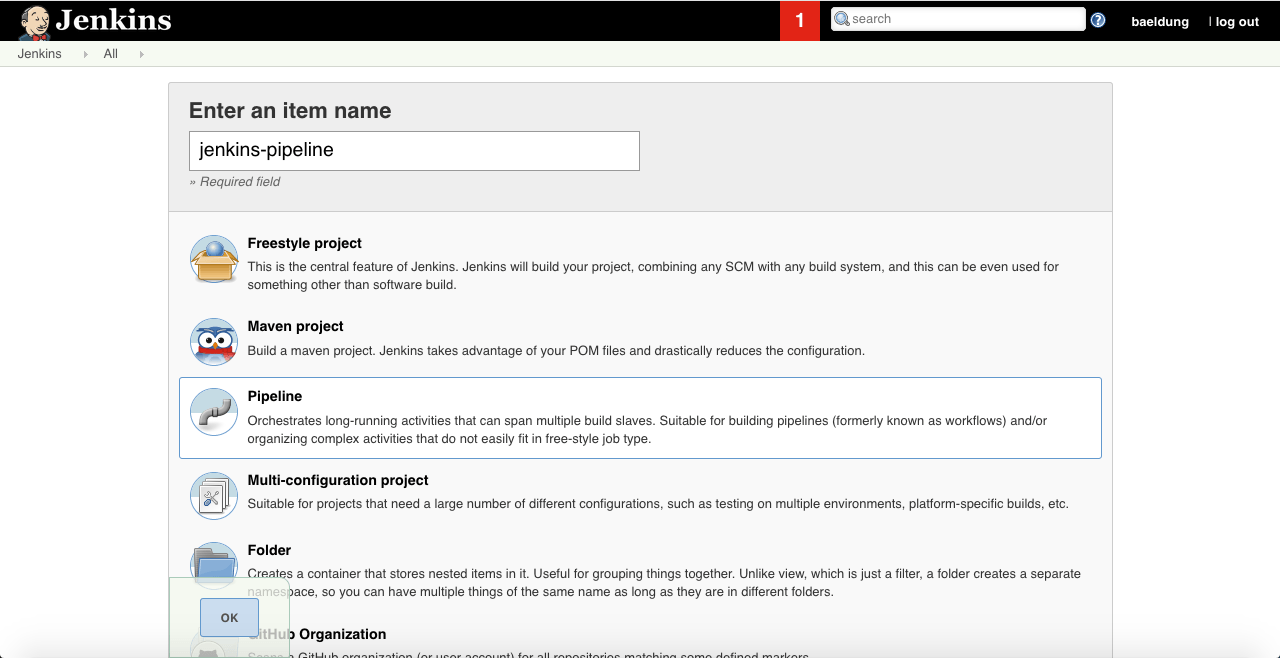
填写任务描述、触发器等信息:

点击 Pipeline 标签页,选择 Pipeline script 并勾选 Use Groovy Sandbox。
以下是一个适用于 Unix 系统的完整 Pipeline 脚本:
node {
    stage 'Clone the project'
    git 'https://github.com/eugenp/tutorials.git'

    dir('spring-jenkins-pipeline') {
        stage("Compilation and Analysis") {
            parallel 'Compilation': {
                sh "./mvnw clean install -DskipTests"
            }, 'Static Analysis': {
                stage("Checkstyle") {
                    sh "./mvnw checkstyle:checkstyle"

                    step([$class: 'CheckStylePublisher',
                      canRunOnFailed: true,
                      defaultEncoding: '',
                      healthy: '100',
                      pattern: '**/target/checkstyle-result.xml',
                      unHealthy: '90',
                      useStableBuildAsReference: true
                    ])
                }
            }
        }

        stage("Tests and Deployment") {
            parallel 'Unit tests': {
                stage("Runing unit tests") {
                    try {
                        sh "./mvnw test -Punit"
                    } catch(err) {
                        step([$class: 'JUnitResultArchiver', testResults:
                          '**/target/surefire-reports/TEST-*UnitTest.xml'])
                        throw err
                    }
                   step([$class: 'JUnitResultArchiver', testResults:
                     '**/target/surefire-reports/TEST-*UnitTest.xml'])
                }
            }, 'Integration tests': {
                stage("Runing integration tests") {
                    try {
                        sh "./mvnw test -Pintegration"
                    } catch(err) {
                        step([$class: 'JUnitResultArchiver', testResults:
                          '**/target/surefire-reports/TEST-'
                            + '*IntegrationTest.xml'])
                        throw err
                    }
                    step([$class: 'JUnitResultArchiver', testResults:
                      '**/target/surefire-reports/TEST-'
                        + '*IntegrationTest.xml'])
                }
            }

            stage("Staging") {
                sh "pid=\$(lsof -i:8989 -t); kill -TERM \$pid "
                  + "|| kill -KILL \$pid"
                withEnv(['JENKINS_NODE_COOKIE=dontkill']) {
                    sh 'nohup ./mvnw spring-boot:run -Dserver.port=8989 &'
                }
            }
        }
    }
}
脚本说明
- 克隆代码:从 GitHub 克隆项目并进入子目录
spring-jenkins-pipeline - 并行编译与静态分析:使用
parallel并行执行编译和 Checkstyle 检查 - 并行执行测试:
- 单元测试
- 集成测试
- 使用
try/catch处理失败并归档测试报告
- 部署阶段:
- 停止已有服务(端口 8989)
- 使用
nohup启动 Spring Boot 应用 - 设置
JENKINS_NODE_COOKIE防止 Jenkins 自动关闭进程
⚠️ 并行执行是 Jenkins 的一大优势,可以显著提升流水线执行效率,特别是在测试阶段。
6. 查看分析与测试报告
保存脚本后,点击 Build Now 开始执行流水线。
查看构建概览:
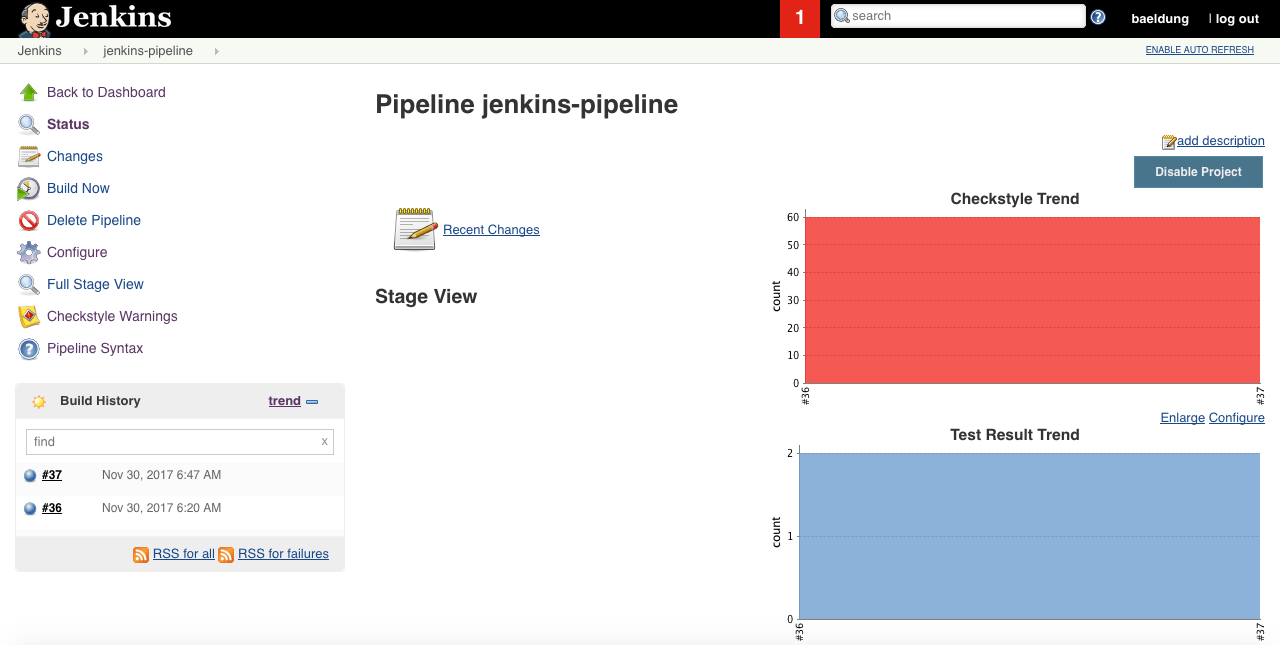
点击构建号进入详情页,可以看到各阶段执行情况:
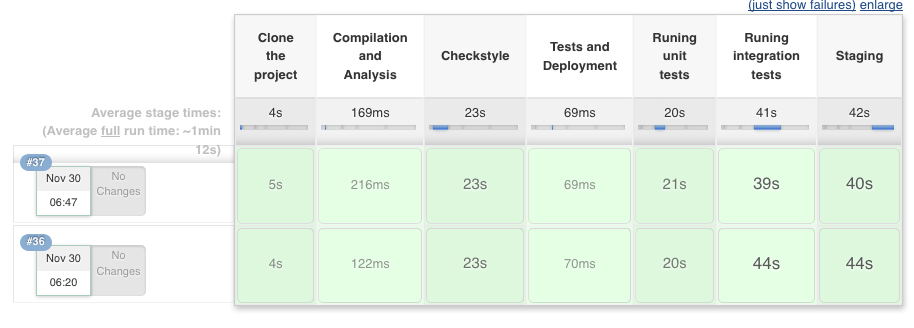
点击阶段日志可以查看详细输出。
Checkstyle 分析报告
点击左侧菜单的 Build History 中的某次构建,然后点击 Checkstyle Warnings,可以看到静态分析结果:
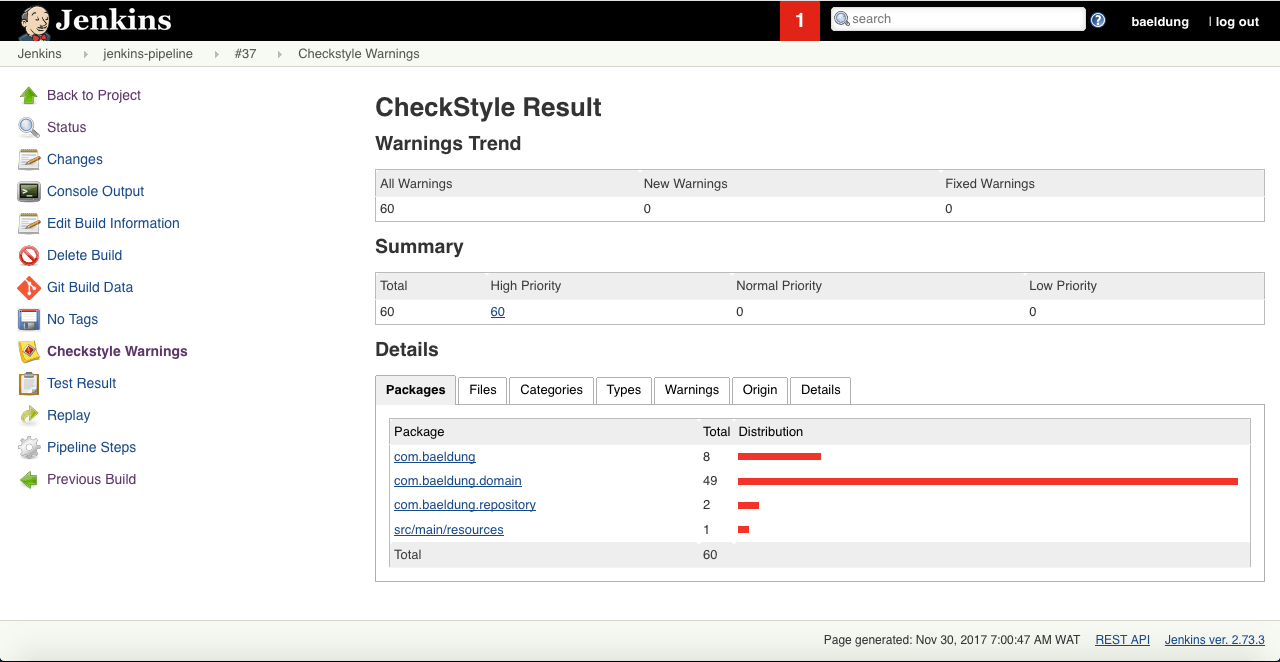
点击 Details 可以查看每条警告的详细信息。
测试报告
点击 Test Result 查看完整的测试报告:

可以查看每个测试类的执行时间、状态等信息。
7. 小结
本文我们通过一个 Spring Boot 项目,演示了如何使用 Jenkins Pipeline 构建一个完整的持续交付流程,包括:
- 代码克隆
- 并行编译与静态分析
- 单元测试与集成测试
- 应用部署
- 测试与分析报告展示
Pipeline 的灵活性和可编程性,使其成为 Jenkins 2 的核心功能之一。如果你正在构建 CI/CD 流水线,Pipeline 是非常值得投入学习的。
完整源码可在 GitHub 获取:spring-jenkins-pipeline